
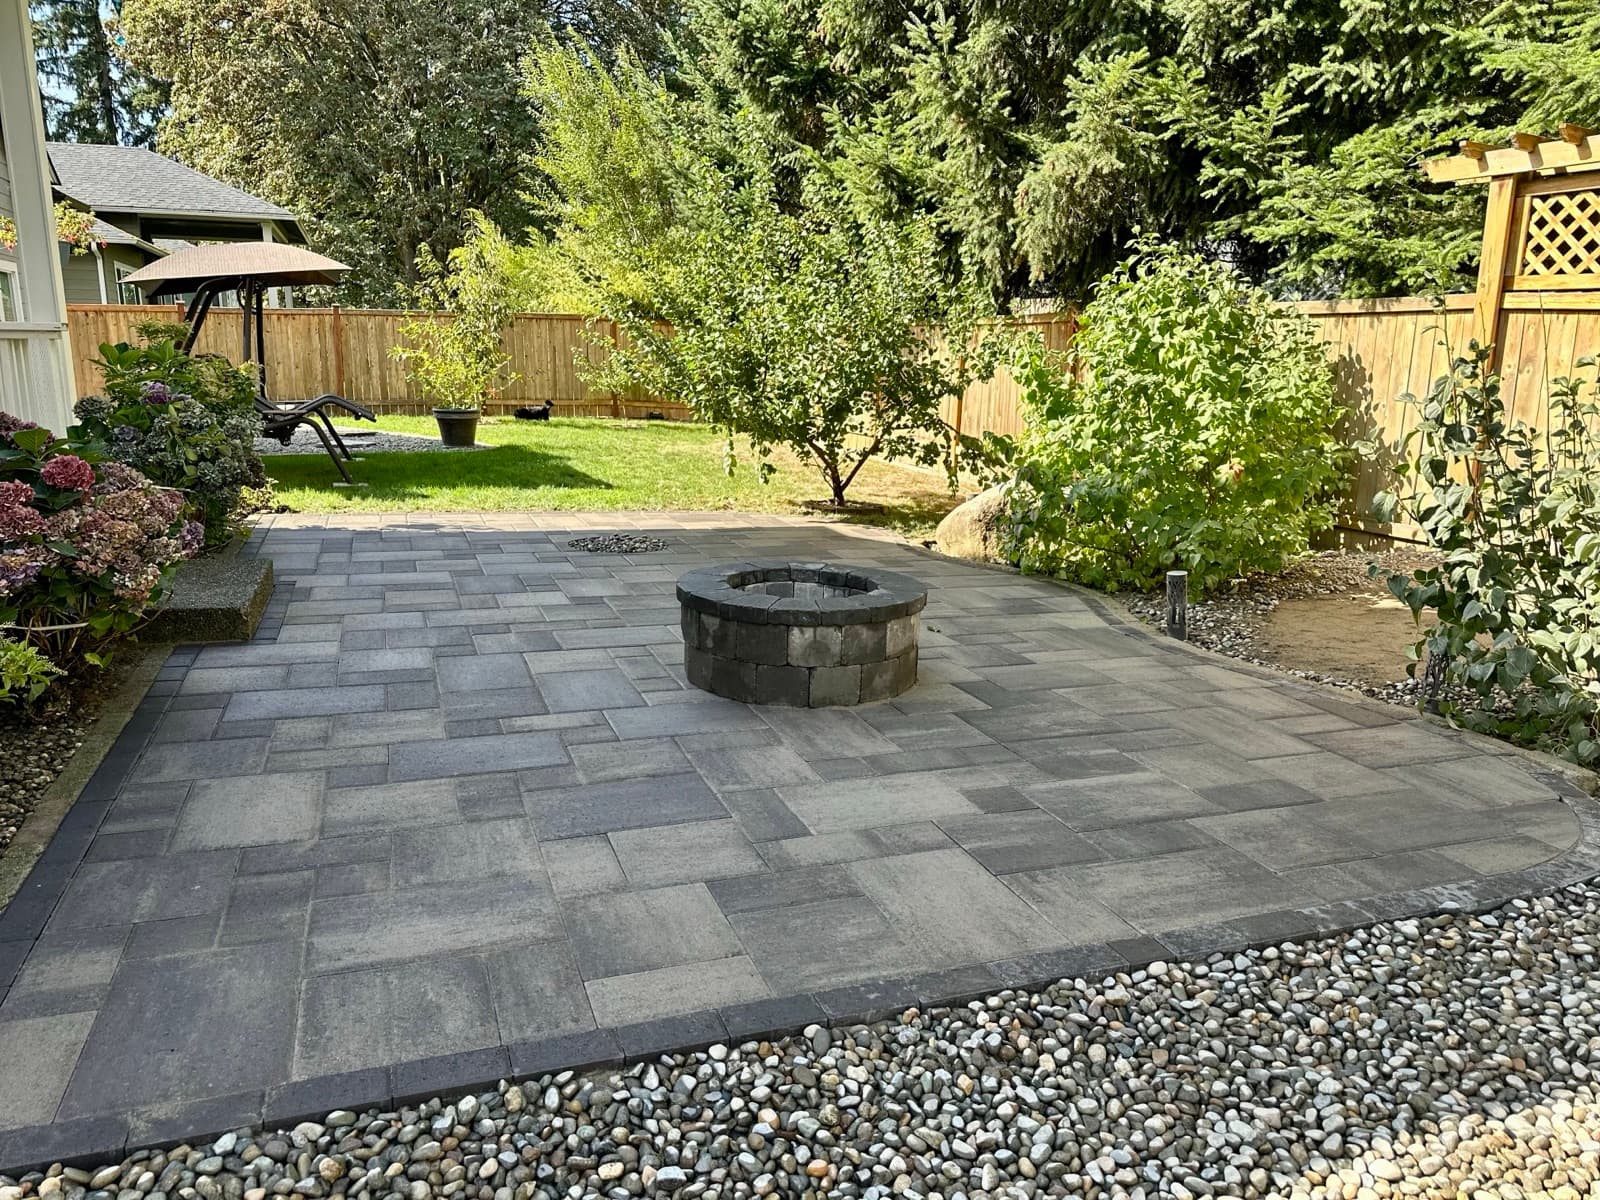
What does a paver installation actually include?
For a sand-set paver installation, the work starts before excavation and ends after joint filling. The site review establishes the layout, finished heights, water paths, equipment access, and expected traffic. A driveway proposal needs to account for vehicles rather than copy the adjoining walkway's design.
The Concrete Masonry and Hardscapes Association (CMHA), which publishes the former ICPI guidance, describes the construction sequence below. Edge-restraint timing depends on the selected system: some restraints go in before bedding, while others are secured as laying progresses.
- Excavation and soil preparation: remove the old surface and unsuitable material, then grade and compact the exposed ground. Ask how any soft or wet areas will be addressed before covering them.
- Base: install separation fabric where specified, then place and compact aggregate in layers to the planned thickness and grades.
- Bedding: screed the specified sand to a uniform layer over the prepared base.
- Laying and cutting: set the pavers to the approved pattern and joint widths, with cut pieces fitted before initial compaction.
- Edge restraint: secure the specified perimeter support so the pavers remain confined during compaction and use.
- Jointing and compaction: seat the pavers in the bedding, sweep sand into the joints, compact again, and refill as needed. Follow the selected product instructions for stabilized joint sand.
- Cleanup and handover: remove excess sand and debris, review the completed surface against the plan, and record any work still to be corrected.
Why Tacoma ground changes how pavers should be built
Where will water go after it reaches the paver surface and base? Ask the installer to show the planned surface grades, drainage route, and outlet before excavation.
What soil is under the proposed pavement, and how does it drain? Ask for the site assessment findings and how they affect the base and drainage design.
Ask how the design will address surface and subsurface drainage, and whether separation fabric is specified for the tested soil.
Paver base: what should go under pavers in Western Washington?
Ask about the base first. The base supports the pavers and carries the load.
Ask what base aggregate is specified and whether it meets the state DOT or local road-base gradation. The rock goes down in layers and each layer is compacted before the next one goes on. One thick uncompacted lift will settle for years.
ICPI's construction specification recommends a stabilized base, bound with cement or asphalt, over weak or saturated subgrades and under very heavy loads. Does your site need a stabilized base? Ask how the soil assessment and intended loads support that choice. Your soil test and how the area will be used decide which one you get, not a standard number on a bid sheet.
- Ask how many inches of compacted base your bid includes, for each area.
- Ask what kind of rock it is and whether it is compacted in lifts.
- Ask whether geotextile fabric is included over clay or silty soil.
- Ask what bedding material is used and how thick it is.
Which hardscape service fits your project?
Hardscaping is the built part of a yard: paving, walls, steps, and outdoor rooms, as opposed to plants and lawn. Ask whether combining services in one project changes the schedule or proposal.
- Paver patios: outdoor living and dining areas, often tied to the back door and a grill or fire feature.
- Paver driveways: vehicle-rated pavers on a deeper base, often replacing a cracked or sinking concrete slab.
- Walkways and steps: front entries, side-yard paths, and step systems on sloped lots.
- Retaining walls: segmental block and stone walls that hold grade and create flat usable space.
- Outdoor kitchens: built-in grill islands and counters set on a paver surface.
- Permeable pavers: open-joint systems that let water pass into a deep stone reservoir below.
- Artificial turf: low-water lawn areas, often framed by pavers.
- Paver repair and sealing: re-leveling sunken areas, replacing broken units, re-sanding, and sealing.
Permits and rules that can touch a paver project
Which permits or reviews apply to the proposed work? Ask the contractor to identify these before the proposal is finalized.
Does the proposed retaining wall need a permit or engineering review? Confirm the requirements with Tacoma or Pierce County for the property's jurisdiction.
Will the proposed driveway and patio work trigger stormwater requirements? Ask Tacoma Planning and Development Services which manual and requirements apply to the complete project before work begins.
Will the work affect a sidewalk, planting strip, or street apron? Confirm approval requirements with the City. Who will arrange utility locating, and what notification period applies?
What should be checked before the base is covered and the job is finished?
Agree on these checks before construction starts. CMHA recommends inspection and testing of compacted soil and base materials. Ask who will verify compaction and what measurements or reports you will receive; a photograph of fresh gravel does not establish its density.
- Before bedding: compare the compacted base thickness, heights, and slopes with the proposal. Ask how compaction was checked beside drains, curbs, and utility structures as well as in the open area.
- Before initial paver compaction: check the pattern, joint spacing, and fitted cuts against the layout. Have the installer confirm restraint support and address openings around drains or curbs where bedding sand could escape.
- At completion: have the installer check joint fill after final compaction, replace damaged units, and verify surface heights at drains and adjoining pavement. List any corrections and confirm they are complete at the walkthrough.
Failure signs to look for in an existing paver job
If you are replacing an old installation, or vetting a contractor by driving past their past work, these are the patterns that tell you what went wrong underneath.
- Ruts in wheel paths: ask whether the base and subgrade provide adequate support for vehicle loads.
- Puddles after rain: ask the installer to assess surface grades and investigate any settlement.
- Spreading edges and open border joints: ask whether the edge restraints are present, secure, and properly supported.
- Washed-out joints and wobbling pavers: ask where joint material is being lost and whether runoff contributes.
- Moss in shaded joints: ask whether drainage or maintenance needs attention.
- Sinking beside the house: ask for an assessment of the base, underlying fill, and drainage.
What drives the cost of a paver installation
We do not publish prices, because the same square footage can cost very different amounts on two Tacoma lots. Slope, access and soil can make two jobs of the same size very different.
The main cost drivers are size, base depth, soil condition, access for equipment, demolition of an existing surface, drainage work, slope and any walls or steps it requires, the paver product and pattern, and permits where they apply. A free on-site quote covers all of them for your property.
How a project runs with ND Brick Pavers
ND Brick Pavers has its office in Yelm, and our crews work across Tacoma, Pierce County, and nearby Thurston County, including Olympia and Lacey. The company has 19 years in the trade, holds Washington contractor license NDBRIDB815M5, and carries a 4.7 rating on Google.
Every project starts with a free site visit and soil test, then a free 3D design so you approve the actual layout, pattern, and color. Our own in-house crews do the demo, base, installation, and finishing, with no subcontractors. You get an itemized proposal before anything is scheduled.
Sources
- CMHA (formerly ICPI) Tech Note PAV-TEC-002-22, Construction of Interlocking Concrete Pavements (minimum base thickness by use)
- CMHA (formerly ICPI) Tech Note PAV-TEC-010-22, Application Guide for Interlocking Concrete Pavements (bedding layer)
- CMHA Tech Note PAV-TEC-003-22, Edge Restraints for Interlocking Concrete Pavements (restraint support, timing, and bedding-sand containment)
- Interlocking Concrete Pavements: Inspection Checklist, March 18, 2015 (hosted by Ideal Concrete Block; base verification, cuts, joints, and final inspection)
- City of Tacoma Planning and Development Services, FAQs (retaining walls, right-of-way)
- WA Department of Labor and Industries, online apps (Verify a contractor)